


Let's start using Konashi by flashing LED2.
(Completed project is placed HERE : konashi-ios-sdk/samples/GettingStarted )
Please clone the GitHub repository.
$ git clone git@github.com:YUKAI/konashi-ios-sdk.git
Or or download the latest version of the library here.
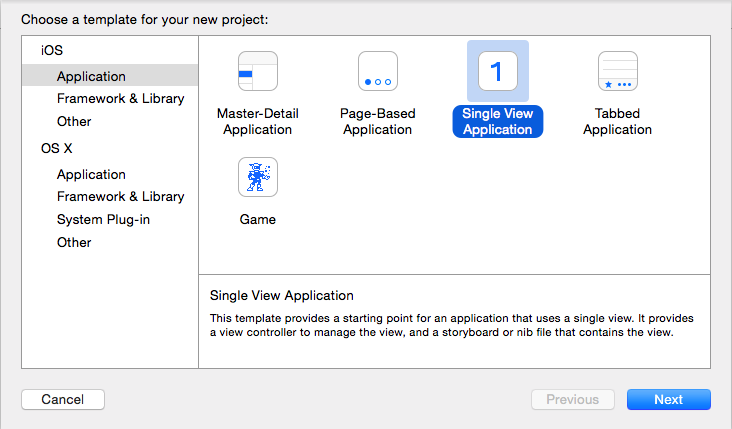
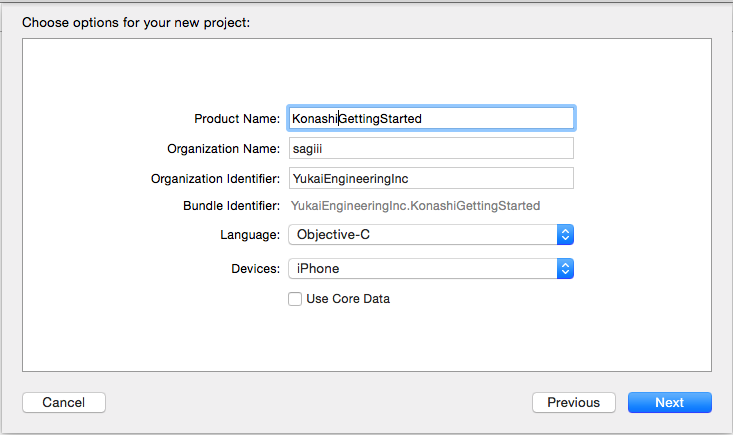
Please create a Single View Application project, MUST enable ARC.
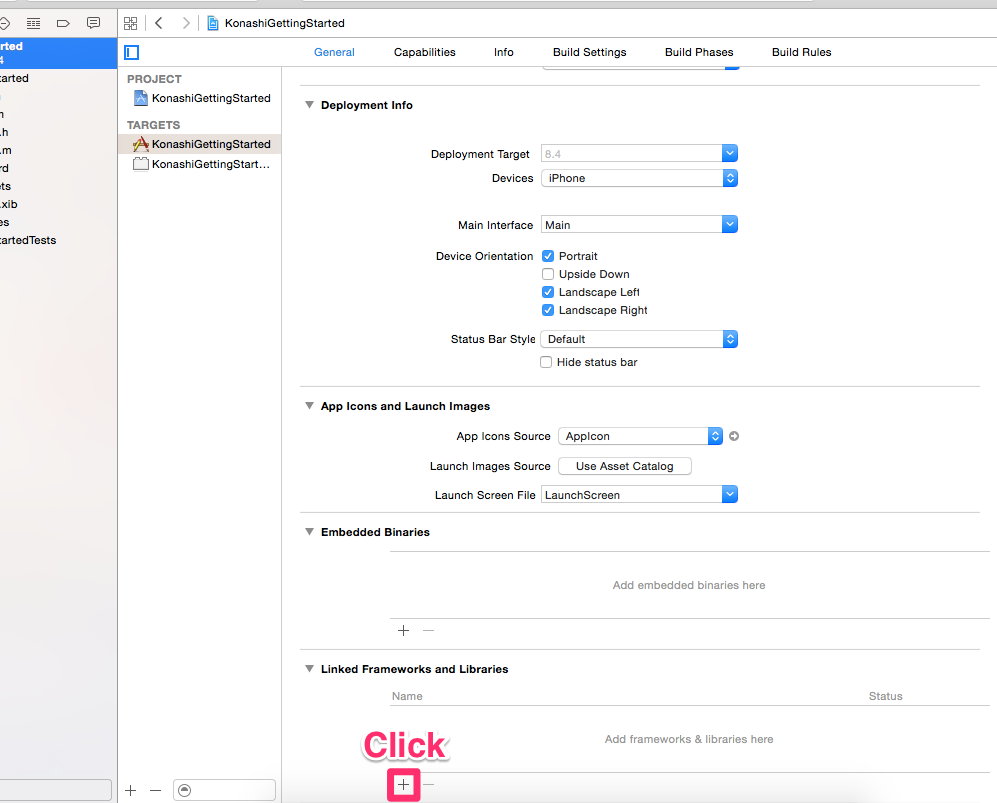
Select "Targets" from left-hand-side menu and show "General" from upper tab, and click the + button in Linked frameworks and Libraries.
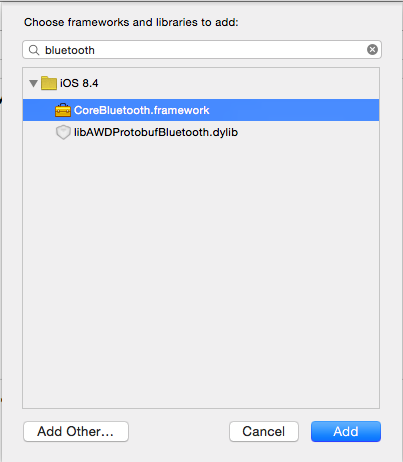
Type bluetooth in the search box, CoreBluetooth.framework shows up then add it.
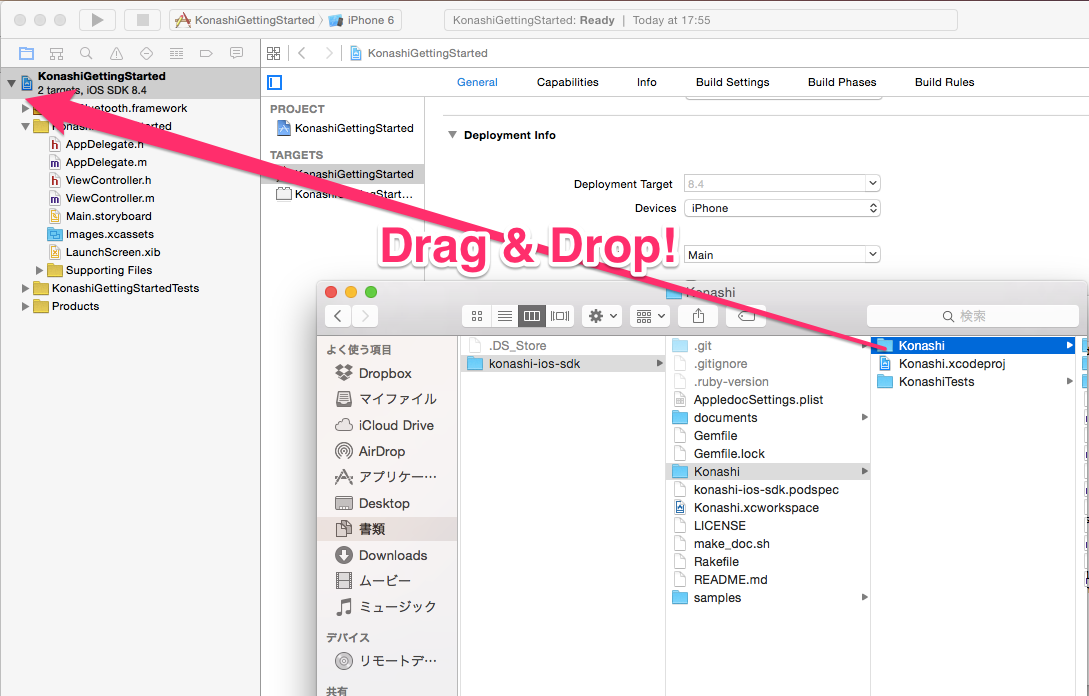
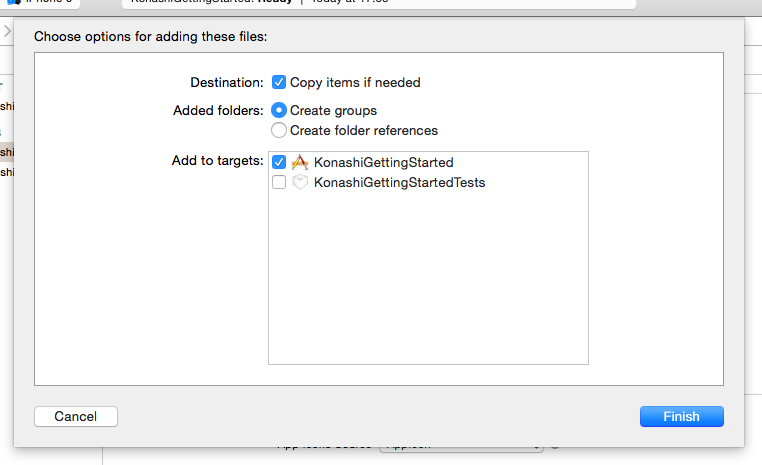
From the source acquired in step 1, drop and drag the directory konashi-ios-sdk/Konashi/Konashi into the project.
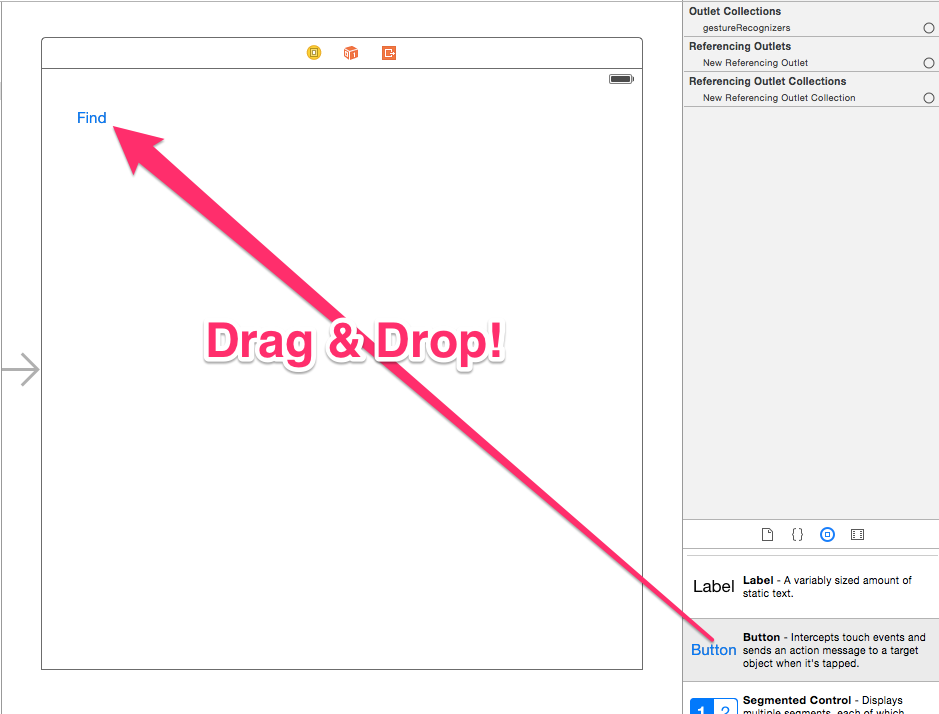
Connect with konashi buttonPlease add a button for connecting with konash to the user interface.
Open MainStoryboard.storyboard, and deploy the button from ViewController.
Select ViewController.h from the file list on the left side, then enter: - (IBAction)find:(id)sender; as follows.
#import <UIKit/UIKit.h>

@interface ViewController : UIViewController

- (IBAction)find:(id)sender;   // add this line

@end
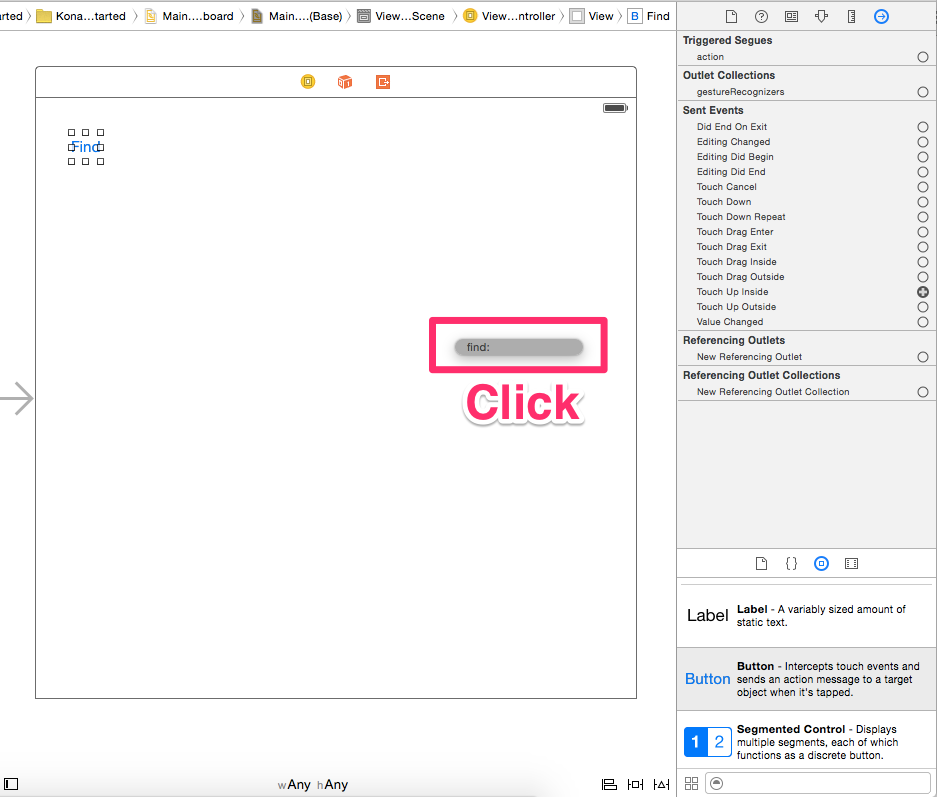
Lastly, attach the tap function for the button.
Select the "Find" button and click circled-right-arrow from the menu on top-right, then drag & drop from "Touch Up Inside" on the list on the right side to the ViewController as depicted.
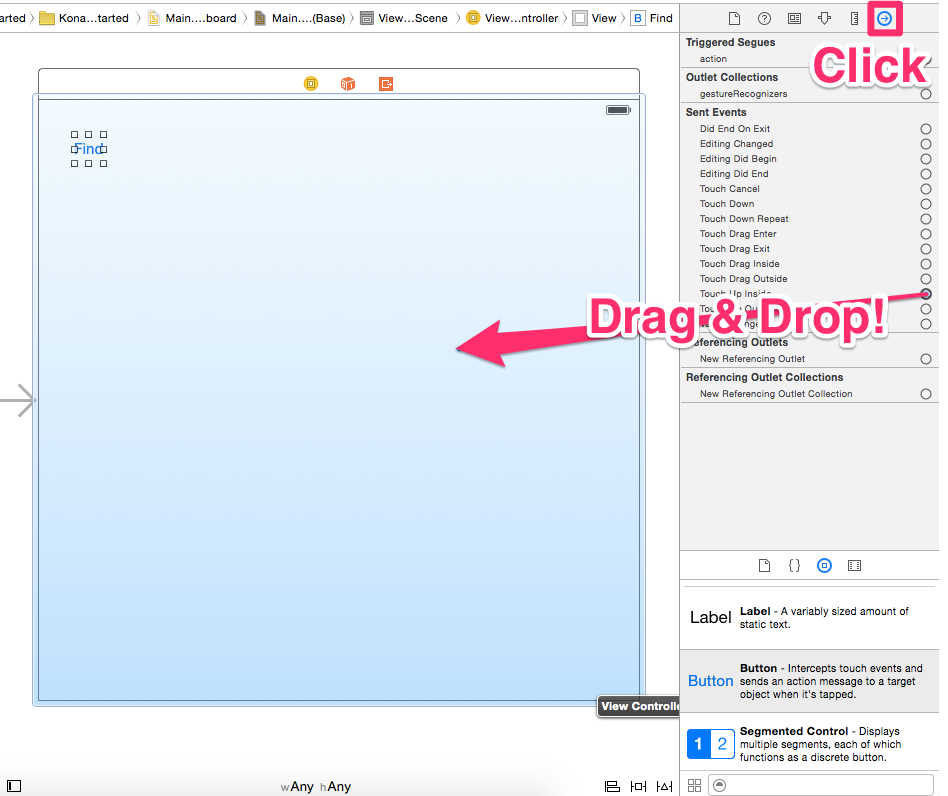
An alternative "Find" would appear on the dropped point, so click it.
Write the code below at ViewController.m .
#import "ViewController.h"
#import "Konashi.h"

@interface ViewController ()

@end

@implementation ViewController

- (void)viewDidLoad
{
    [super viewDidLoad];
    // Do any additional setup after loading the view, typically from a nib.

    // Register event handler
    [[Konashi shared] setReadyHandler:^{
        // Set pin mode to output
        [Konashi pinMode:KonashiLED2 mode:KonashiPinModeOutput];

        // Make LED2 glow
        [Konashi digitalWrite:KonashiLED2 value:KonashiLevelHigh];
    }];
}

- (void)didReceiveMemoryWarning
{
    [super didReceiveMemoryWarning];
    // Dispose of any resources that can be recreated.
}

- (IBAction)find:(id)sender {
    [Konashi find];
}


@end
Konashi uses Bluetooth 4.0 (Bluetooth Low Energy) to communicate, so before executing the application, enable Bluetooth on your iOS device. (If it is already enabled, please skip this step.)
Open “Settings” on the iOS device, and chose “Bluetooth” from the displayed list.
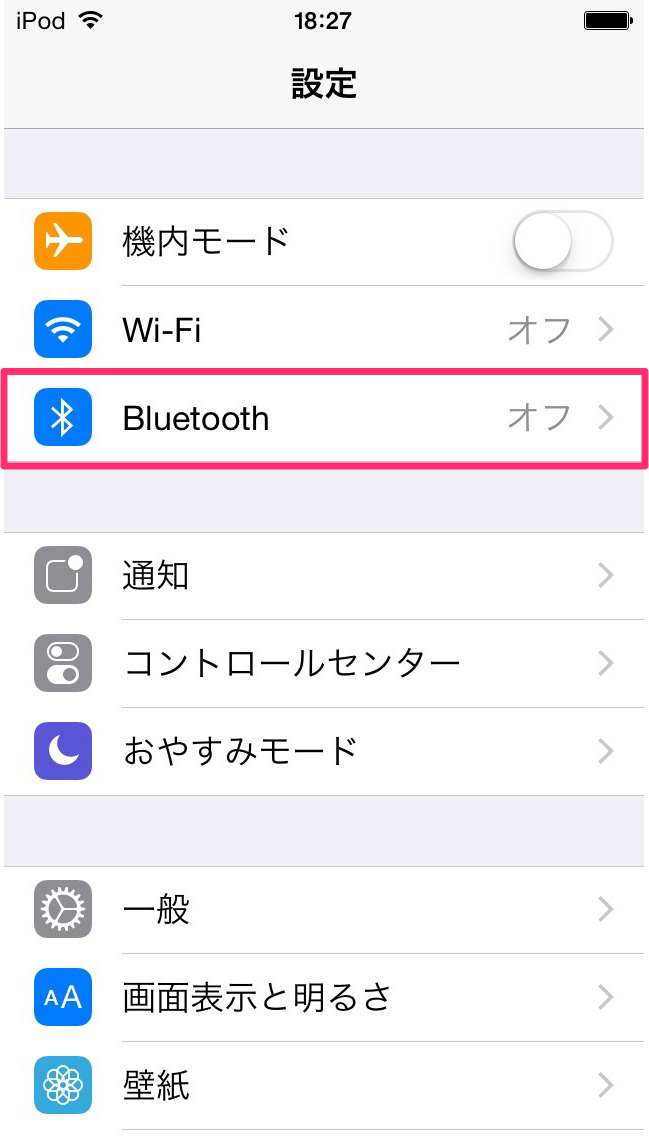
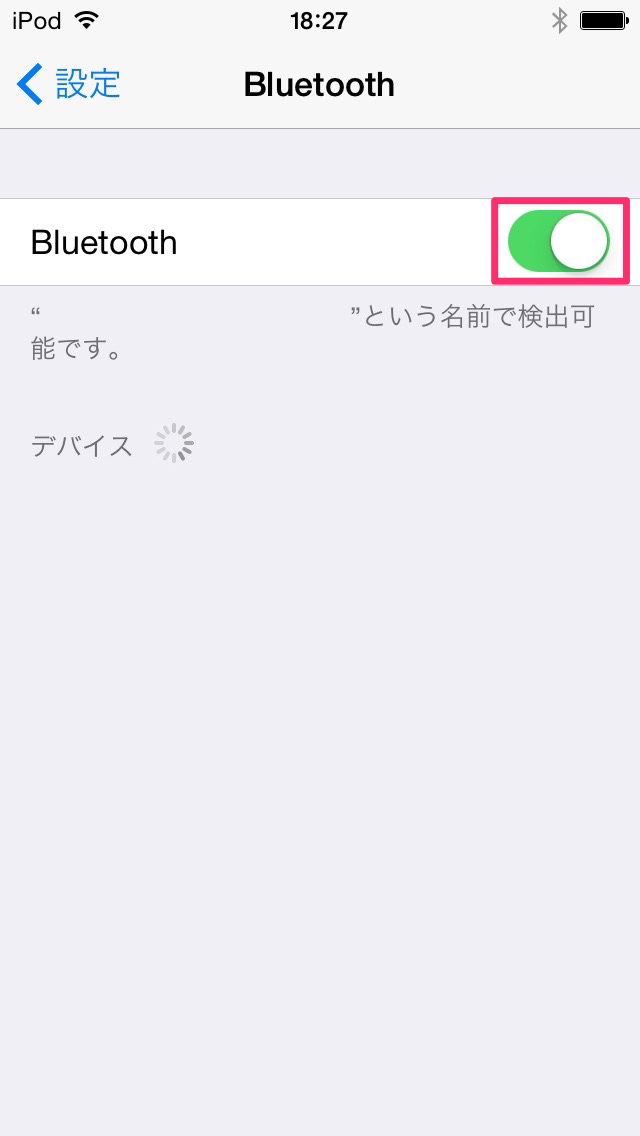
If Bluetooth is turned off then please change it to on. “Searching” will be displayed on the device, but it isn’t necessary to konashi’s operation so settings can now be closed.
The preparations are now complete!
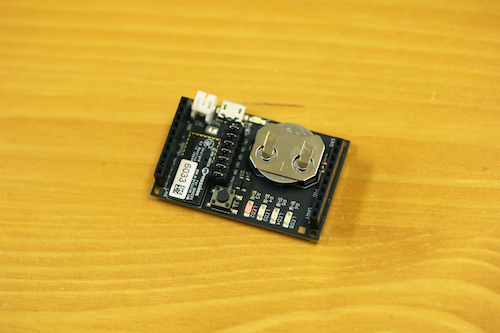
Please insert a coin battery or connect a power supply through a microUSB cable, and run the project.
When the app started, tap the Find button.
A list of konashi units that it is possible to communicate with will appear, so chose one, and tap the Done button.
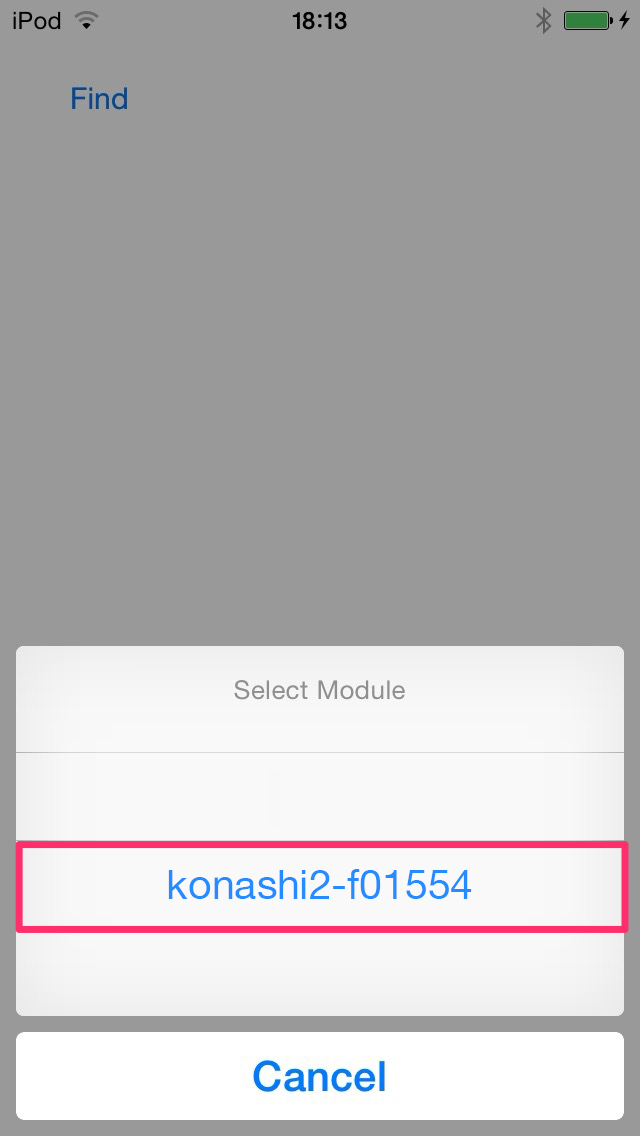
After a moment, LED2 should light up!
Please take a look at the detailed explanation of konashi’s features and functions found in Documents.
Also, konashi-ios-sdk/samples , there are samples covering all its functions, so we recommend getting a feel for konashi based upon these.
More details on iOS SDK are given here.